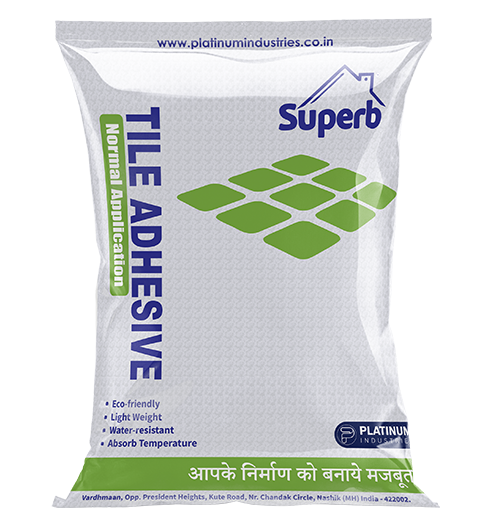
Superb Normal Tile Adhesives
Installation of tiny and medium-sized ceramic floor tiles in interior areas utilizing the thin set method requires a factory-made, bagged cementitious polymer based powder including Portland cement and silica sand, which can be combined with water.
Features and Benefits:
- Fix ceramic tiles on Interior Flooring & Walls (best if used directly for new floors)
- Easy Application
- Super User-friendly
- Packaging: 20 kg Bags
- Coverage Approx.: 55-60 sq. ft. per 20 kg bag with a ¼” x ¼” (6mmx6mm) square notch trowel for a bed of 3mm.
- Color: Grey / White
HOW TO APPLY:
Substrate: Ceramic tile should be applied to a stable, clean surface that is free of paint, plaster, oil, or any other potentially hazardous contaminants. Simply said, you need to spit and spat so that the adhesive’s strength isn’t undermined. The surfaces should be flat and accurate within for maximum efficiency: Trim: 3mm in 2.5m Walls Subfloors: 1.5 mm per 1 m
Surface Preparation:
- Let a bed of plaster or leveling mortar cure and be thoroughly maintained for at least a week to provide proper strength and prevent cracks and adhesive/material mixing. Again, make sure the surface of the bed is clean before applying the adhesive.
- Platinum Normal Application Tile Adhesive should be applied to a damp wall. Remove any dirt or adhesive from the underside of each tile.
Mixing & Proportion:
- The products may be blended by hand or with any mechanical or electronic device at your disposal. Mix the powdered Platinum Normal Application Tile Adhesive with clean water in a clean (as in free of dust and particles) container until the mixture is creamy and plastic and has the consistency of loose dough.
- Avoid over-mixing the glue, since this might cause it to solidify or toughen in the container. Allow the mixture to sit for 5-10 minutes, then stir again and apply. You should only make as much adhesive as you will need for immediate use.
- Approximately 1 bag of Platinum Normal Application Tile Adhesive with 5-6 litres of water. Adjust the quantity of liquid to obtain proper consistency.
Installation:
- To ensure the glue flows smoothly during installation, moisten the surface first. At the time of application, there should be no puddles of water on the surface or in the adhesive. To avoid having the cement dry unevenly and too quickly, the area should be sheltered or the job should be done while the sun is lower in the sky. If using a trowel, the flat side of the trowel should be used to apply the adhesive, and the glue should be pressed flat on the surface.
- The notch in the trowel's edge is then used to spread even more mortar. To provide maximum strength, put adhesive onto the back of large tiles as well as trowelling material over the surface to be tiled. Find the right notch on a trowel. For thin tiles up to 300 mm (1'X1') in size, a 6mm x 6mm square notched trowel will yield a 3mm finished thickness. Large ribbed porcelain tiles (up to 450 x 450 mm): Back butter the tiles with the same adhesive to a thickness of 1-1.5 mm to produce a total thickness of 4.5 mm. Use a square notched trowel of size 6 mm x 6 mm.

- Because air bubbles, water, and other particles might seep through gaps in the adhesive and compromise the tile's ability to attach, it's crucial that the glue completely cover the tile's bottom surface. Dust and debris should be removed from the back of tiles (particularly porcelain tiles) with a damp sponge. Avoid becoming completely submerged. Using a damp sponge or cloth, remove any excess mortar from the stone's surface while the mortar is still wet.